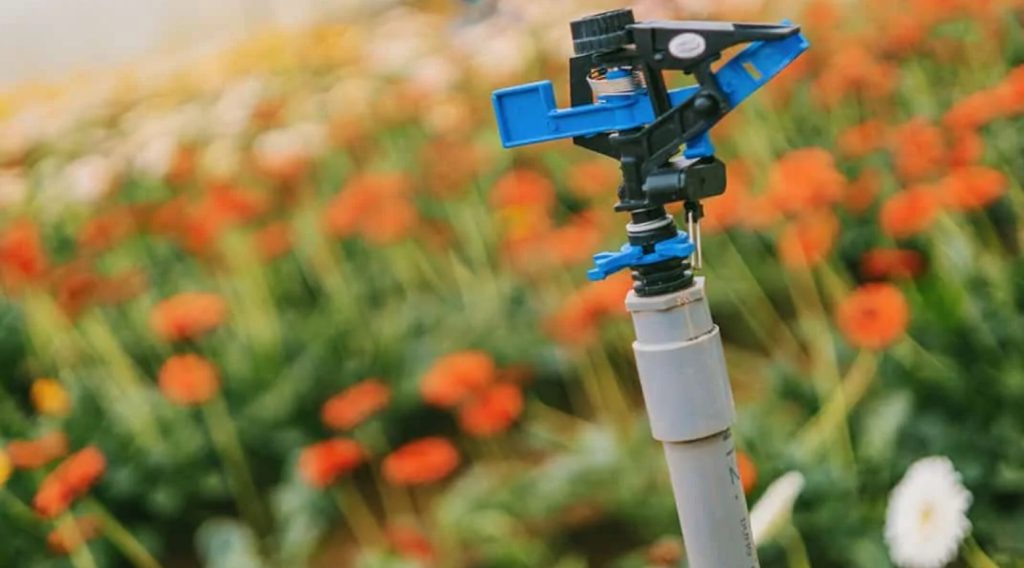
Installing a sprinkler for your garden and lawn will eliminate the need to carry around watering cans and hoses in order to keep it green and watered. Your sprinkler system can water your lawn and garden for you even if you are out of town.
Sprinkler systems can also reduce your water consumption and waste. This alone is enough for many homeowners to invest in one.

Designing a lawn watering system: 7 guidelines
1. Measure and prepare the area.
You will first need to take the necessary measurements for your landscape. Start by measuring the length and width of your landscape. Then, using a graphing sheet, pencils and a tape, draw these measurements to scale.
Be sure to measure everything on your property including outhouses and driveways.
2. How much water flow and pressure do you have?
Landscape irrigation design is all about water pressure. Water pressure can be tested in different locations on your property to determine which areas are weak and which are strong. You can measure the water pressure with a simple water gauge.
It’s easy to measure water flow in gallons per minutes (GPM). Place a 1-gallon pail under the outdoor spigot, and open it to its maximum. Divide the number of seconds it took the spigot to fill the bucket by 60. Voila. You now have your flow rate (in GPM).
3. Divide your landscape into hydrozones
Hydrozones can be easily understood – they are simply a way to group plants that have similar water needs to conserve water. Each plant on your property will have its own requirements. Hydrozoning plants according their water requirements for landscape irrigation is important for this very reason.
You should consider the following four aspects when it comes to hydrozoning:
- Shape and size of the landscape area. Hydrozones are based on the topography of the area and its current condition, as well as the small patches of land that you can plant around your property.
- Sunlight and water. Shaded areas on your property do not need as much watering than those that are always exposed to sunlight. It is the same for their water exposure.
- Type of plant. By clustering plants that need a lot of water and those that don’t, you can make an informed decision about where to install a sprinkler system. As needed, group them.
- Soil type will differ. Sand, loam or clay are all examples of soil types. Sandy soil is unable to retain water. The ideal soil is loam, which breaks apart when saturated with water. Clay on the otherhand retains its form when it is moistened. The soil type will determine what sprinkler heads and rotors you need to ensure your plants receive adequate water.
4. Select the right sprinkler heads for your sprinkler
A uniform brand is a good way to choose the right sprinkler heads for your system. It is not recommended to mix and match different brands, as some may not be compatible with your sprinkler systems.
The sprinkler heads you choose will also vary depending on the hydrozone requirements.
- Fixed Sprays. As the name suggests, Fixed Sprays spray water in a fixed, targeted area. These sprinklers can cover a range of up to 18 feet. These sprinkler heads are usually placed at the end of a fixed spray to ensure uniform water distribution.
- Rotors. Rotors are selected based on the coverage and radius required for your landscape. It is not recommended to use different rotors or sprays in each hydrozone. You should use the same sprays and sizes.
- Specialty patterns and bubblers. Specialty patterns and bubblers are sprinklers designed to water trees or shrubs in difficult-to-reach places.
- Sprayheads with rotating nozzles. These devices spray water in a continuous stream from a distance of up to 30 feet.
- Micro-irrigation/drip irrigation. Landscape beds, ground covers, and planted areas are most appropriate for this type of sprinkler, which delivers water directly to the roots.
5. Layout your sprinkler system
On your diagram, mark the location of the sprinkler heads and the direction they spray. Note the areas of your landscape that are not yet adequately covered and where the sprinklers begin and end.
6. Prepare piping layout
You can now start organizing the rest of your fittings, pipe, heads and valves to ensure that they all work together as per the layout. Layout your sprinkler system on paper and note the distances between each part.
It is also a good idea to group the valves together if your landscape area has a large size. You can then attach an irrigation controller to them. Connecting the valves to an irrigation controller will take care of all your watering needs.
The automated irrigation controllers that you are familiar with now make it much easier to use. The controllers also save water and will pay for themselves in just a few short years. It can reduce your water consumption by as much as 50%. You won’t need to replace plants that die of thirst.
7. List all the parts and relevant details
You’ll always be disappointed if you lose a part for your sprinkler years later and don’t know what it is. It’s also frustrating to not know how to put something together. It’s important to keep a record of the parts and their locations, along with any other relevant details. This will make it easier to troubleshoot if something goes wrong.
If you follow these seven guidelines, putting together a sprinkler to irrigate your landscaping shouldn’t be rocket-science.
